Tree of Life Lesson Plan
A complete one-hour art lesson built around Klimt’s swirling Tree of Life. Free to use in class or at home.
This lesson introduces children to Gustav Klimt through his famous Tree of Life, and has them create their own patterned tree using spirals, shapes and metallic colour.
At a glanceOverview
- Age: 6–11 (adapt for older pupils with the extensions)
- Time: 45–60 minutes
- Subject links: art and design (learning about great artists, pattern, colour), history (Vienna around 1900), maths (shapes and spirals)
GoalsLearning objectives
- Know who Gustav Klimt was and recognise his decorative style.
- Identify spirals, circles, triangles and other shapes in a work of art.
- Use repeated pattern and contrasting colour to create their own artwork.
You needMaterials
- A large picture of the Tree of Life on a screen or print (our free wallpapers work well)
- A4 or A3 paper, brown or black card optional
- Pencils, black fine-liners, crayons or oil pastels
- Gold and silver pens, paint, or metallic paper; glue sticks
- Optional: printed Klimt colouring pages for early finishers
Step 1Introduction (10 minutes)
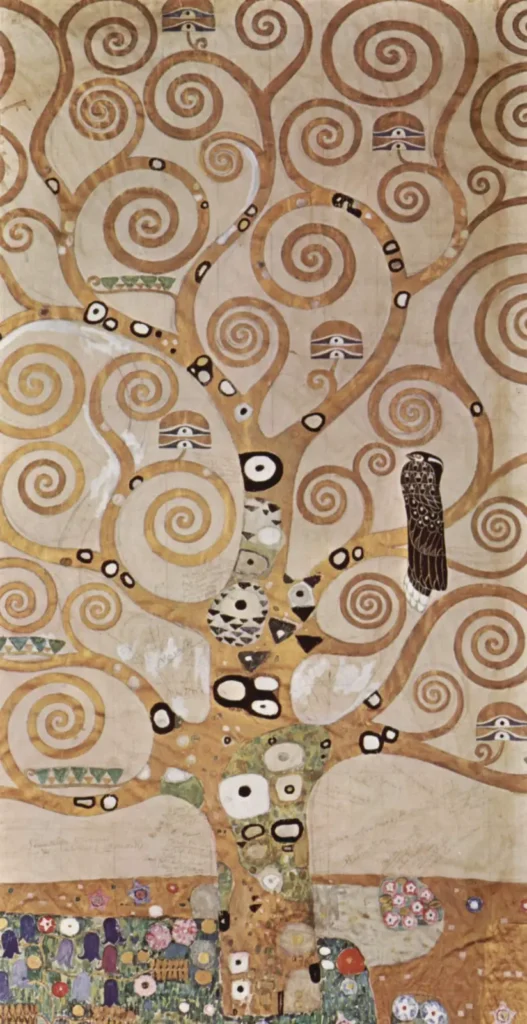
Show the Tree of Life without saying its name. Ask: What do you see? What shapes can you find? How does it make you feel? Explain that Klimt was an artist from Vienna in Austria who lived from 1862 to 1918, that his dad engraved gold, and that he used real gold in some paintings. The tree was designed for a dining room in a house in Brussels and made as a mosaic.
Step 2Looking closely (5 minutes)
Point out the spiral branches, the black bird, the triangle and eye shapes in the trunk, and the small flowers at the bottom. Talk about why Klimt might have made the branches curl endlessly: a tree of life that keeps growing. Zoom in on details with Explore The Kiss to show how close-up patterns work.
Step 3Making (30 minutes)
- Draw a thick trunk up the middle of the page.
- From the top, draw branches that curl into spirals; practise a spiral in the air first.
- Decorate the trunk with shapes: triangles, eyes, circles and squares.
- Add a bird, flowers or leaves of your own.
- Colour with warm golds, oranges and browns, and use metallic pens or paper for the shine.
- Outline the spirals in black to make them stand out.
Step 4Plenary (5–10 minutes)
Gallery walk: lay the trees out and ask pupils to find a pattern they like in a classmate’s work and explain why. Ask: How is your tree like Klimt’s? How is it different?
Adapt itDifferentiation and extensions
- Younger pupils: provide a printed trunk and pre-cut shapes to stick on.
- Older pupils: make a mosaic version from small squares of coloured and metallic paper, like the original Stoclet Frieze.
- Research: find out about the Stoclet Frieze and Klimt’s symbols.
- Assessment: finish with the Klimt quiz.
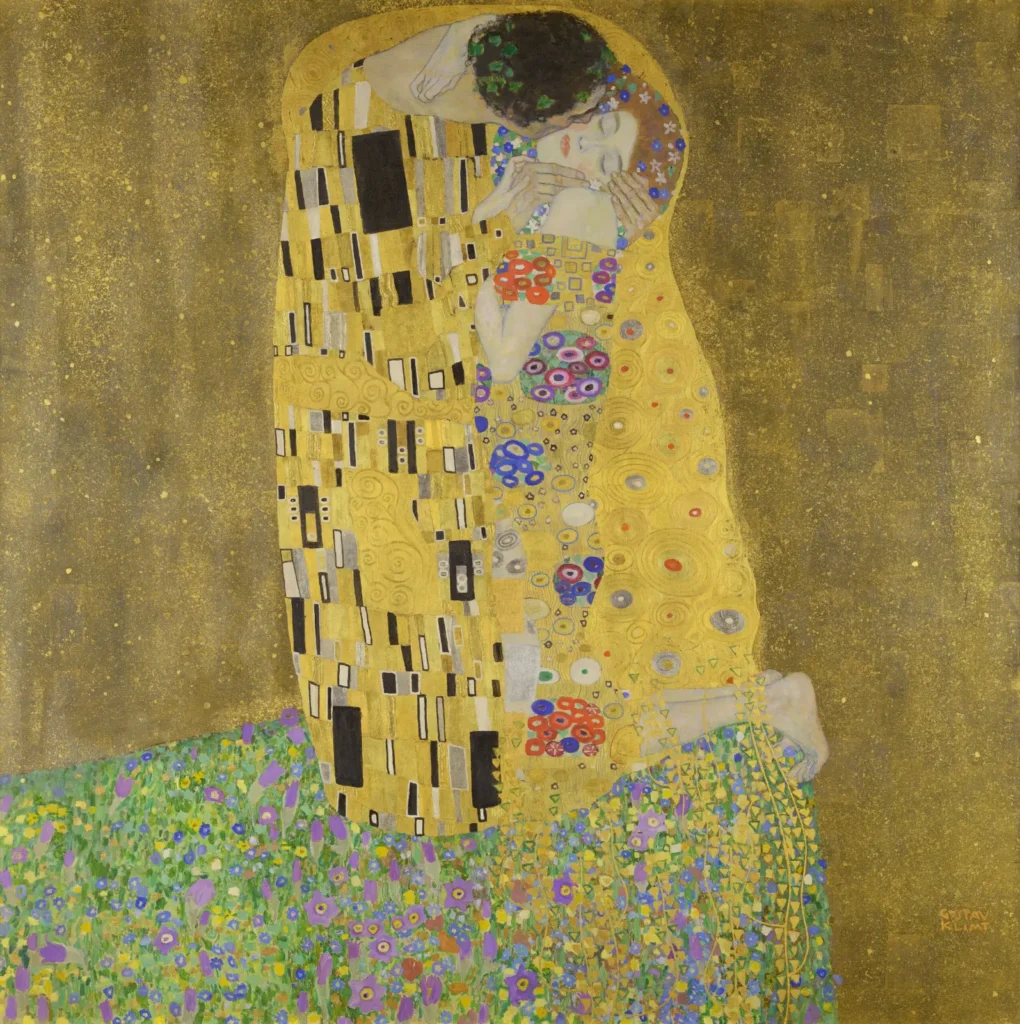 Klimt for kids
 Colouring pages
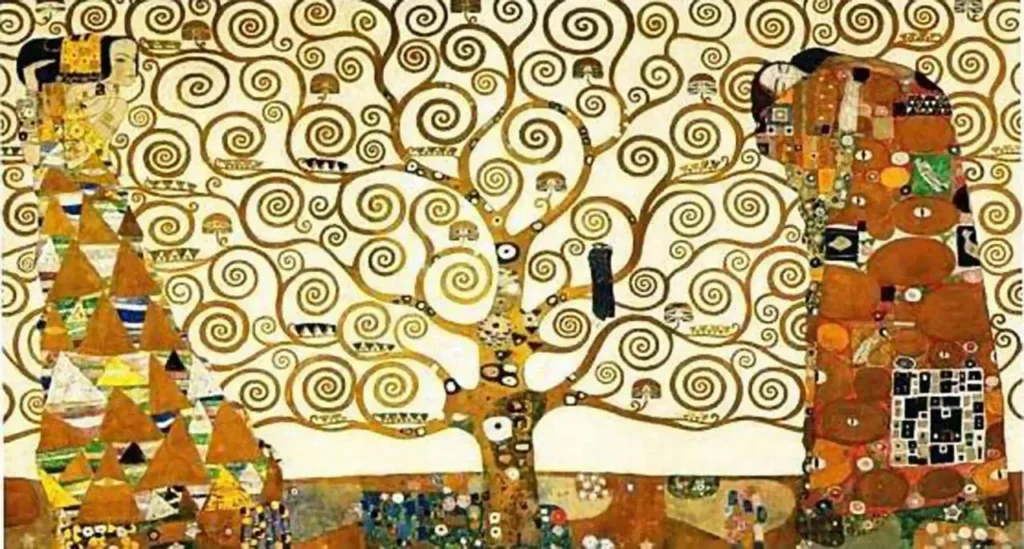 Tree of Life
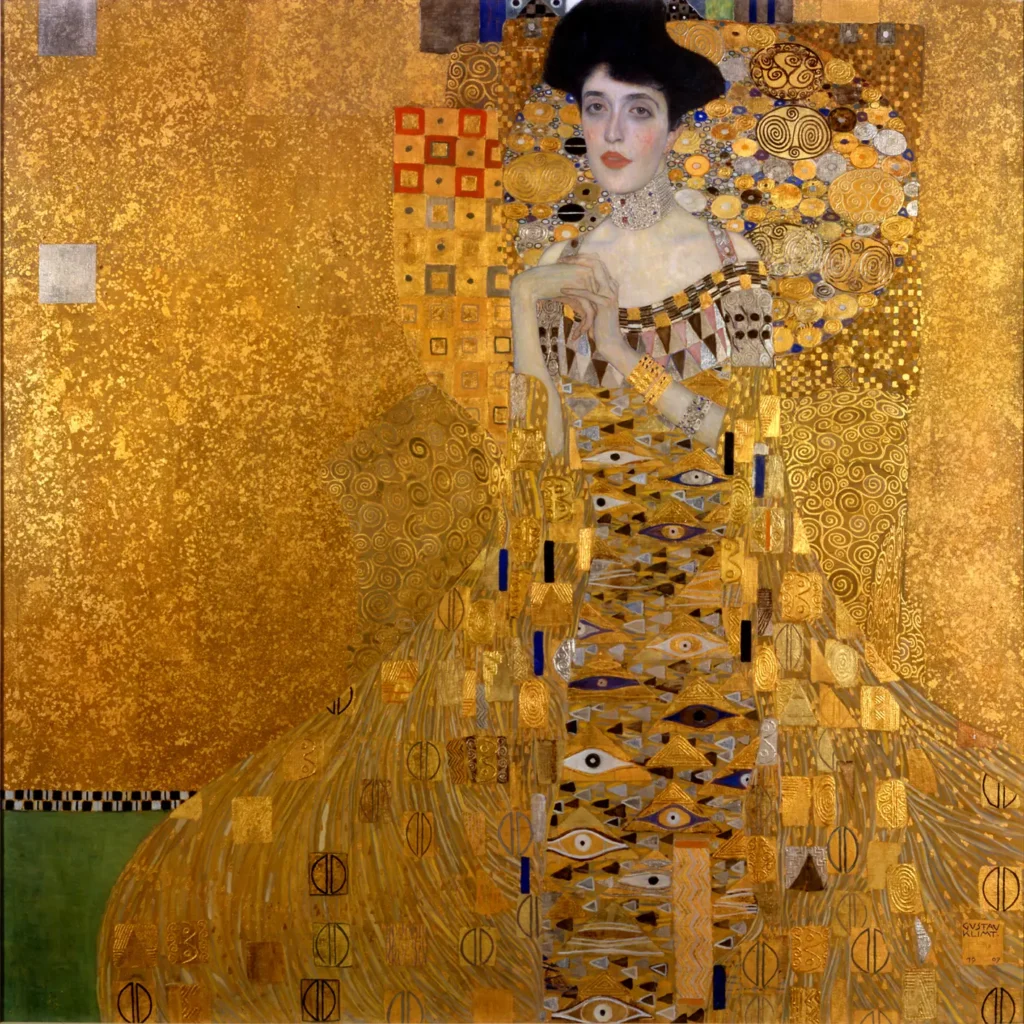 Klimt quiz